Showing posts with label thanksgiving craft. Show all posts

November 23, 2011

Thanksgiving Printables and Crafts ROUND UP

Hello fellow procrastinators.  Are you scrambling for something - anything - Thanksgiving-ish?  Have no fear, we have printables for your wall, party printables, crafts and snack ideas for this holiday of giving thanks.

Thanksgiving printables for your wall:
"I'm Stuffed" printable
Thanksgiving poem printable
Gobble banner printable and tutorial

_______________________________________________________________


Thanksgiving party printables:

"Give Thanks" printable party pack
"Give Thanks" prtinable fry boxes


______________________________________________________________


Thanksgiving snack idea:

gumdrop turkey snack idea

 _______________________________________________________________


Thanksgiving kid craft tutorial: 
paper plate turkey craft

We are thankful for our families, and we are thankful for our warm houses, and we are thankful to have such great blog readers (pssst, that's YOU!)   Have an excellent Thanksgiving, from Peonies and Poppyseeds! 


Want to know when we post new printables?
Get Peonies and Poppyseeds newest posts by email or in your blog reader.
Follow us on: Bloglovin’, Twitter, Become a Facebook Fan and keep-up via Networked Blogs!
______________________________________________

Printables are free for personal, non-commercial use only.
Did you use our printables and love them? Send us your photos and we’ll showcase your event! contact us at caroline@peoniesandpoppyseeds.com

November 22, 2011

Paper Plate Turkey Craft

paper plate turkey craft final

We made paper plate turkeys in preschool today, because A) I had paper plates and B) it’s Thanksgiving week.  (What do we do with turkeys? We EAT THEM!… There’s a reason I’m not a real teacher.)

paper plate turkey craft step one

You start by drawing a turkey-ish shaped kind of body. It pretty much looks like a head and shoulders.

You are going to CUT on the solid lines, and FOLD on the dotted lines.  I recommend using an exacto knife for the cutting, because if you use scissors, you get a big hole and jagged tear, and then your paper plate turkey looks like it was eaten by the shredder. Not that there’s anything wrong with that.

paper plate turkey craft step two

This is what it should look like when you have CUT and FOLDED the right way.

Then you pretty much just decorate the turkey. The half of the paper plate that was not cut is going to be the tail feathers. So make them pretty. Or not…. it’s your turkey.

paper plate turkey craft

We used a little bit of glue to stick the turkey body to the turkey tail. But you don’t have to. I know how you like to make your own rules and all.

But there you  have it: your very own Paper Plate Turkey.

paper plate turkey craft final

Gobble Gobble.

______________________________________________

Want to know when we post new kids crafts?

Get Peonies and Poppyseeds newest posts by email or in your blog reader.

Follow us on: Bloglovin’, Twitter, Become a Facebook Fan and keep-up via Networked Blogs!

November 19, 2011

Gum Drop Turkey Snacks


Every Thanksgiving, as I was growing up, we made gumdrop turkeys.  And then we ate them.  So now I have the same tradition with my kids. 

Want to make your own gumdrop turkey with your own kids?

Sure you do!  And here's how:

First gather supplies (and children):


You will need: big gumdrops, little gumdrops, toothpicks and those orange slice gummy thingies (the orange slices are actually optional, but they do make the best "feet").

Now take a couple of toothpicks and stab one side into the orange slice thingy and the other side into the bottom of a big gumdrop.


Then take the little gumdrops and stick a toothpick in each one, and then stick them into the back of the big gumdrop to make a tail.  


Note: you can have as big of turkey tail as you want, but I must warn you that the bigger your tail is, the more likely your gumdrop turkey is to fall over once you're done - it's just a sad fact in gumdrop turkeydom).

Now, break a toothpick off so it's a little bit shorter than normal, but make sure you get all the wooden shards off of it so that you don't have to eat them later.  And then stick a small gumdrop on one end and stick the other end in your big gumdrop to be a head.

And then take a little orange gumdrop and pinch off a little chunk and stick it to the head for a beak.  Then take a little red gumdrop and pinch off an even smaller sliver and stick that to the beak for that red hangy thingy that turkeys have that I have no idea what it's really called.


That's it!  And hopefully it doesn't fall over too much (you can reposition the legs if your turkey doesn't stand very well).  

And your turkey will taste super yum when you eat it.  Unless you use white spice gumdrops, because whatever that flavor is, it's NASTY.


______________________________________________
Want to know when we post new kids crafts?
Get Peonies and Poppyseeds newest posts by email or in your blog reader.
Follow us on: Bloglovin’, Twitter, Become a Facebook Fan and keep-up via Networked Blogs!

November 10, 2011

Gobble Banner Printable and Tutorial


I wanted to make a Thanksgiving banner and I almost made one that said "Give Thanks" but then I thought, "BORING" so I made one that says "Gobble" instead (which is only slightly less boring, but there's only so many Thanksgiving sayings out there).

Here's how to make it:

Step 1:  Download and print this:


Just click on "click to download" and it should automatically start the download process.  And make sure to print these on cardstock, because they need to be nice and thick.

Step 2:  Tell your kids to leave you alone for awhile because while I made my banner I was helping one kid with vocabulary homework and another kid with math homework and had one pretend puppy scratching my legs and another kid giving me a half hour monologue on the color yellow - IT WAS NOT CONDUCIVE TO BANNER MAKING.

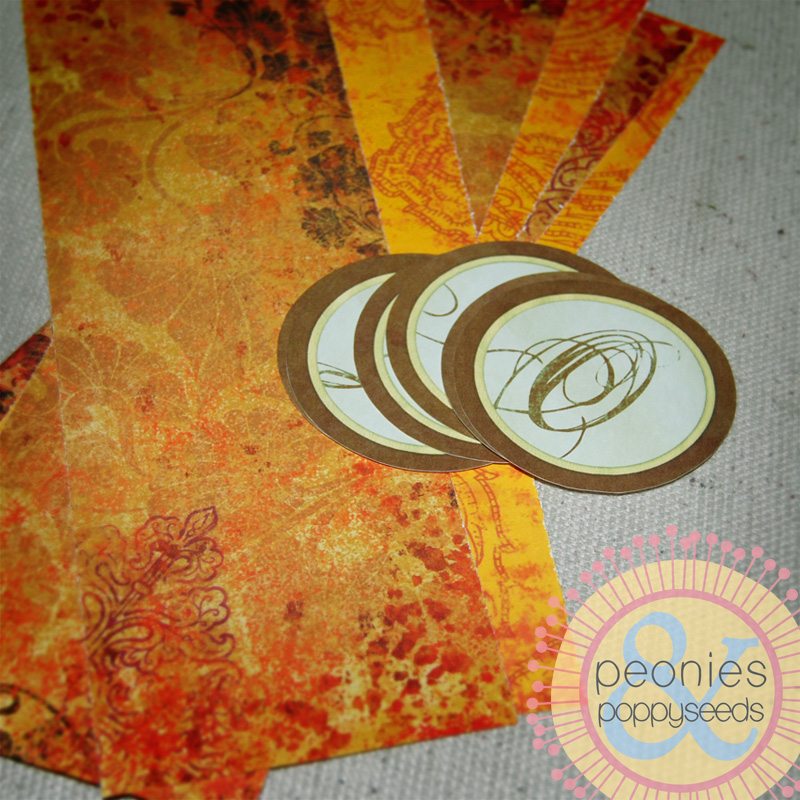
Step 3: Cut out the pieces on the printable, and slice a couple pieces of scrapbook paper into six 3.75x12" strips.


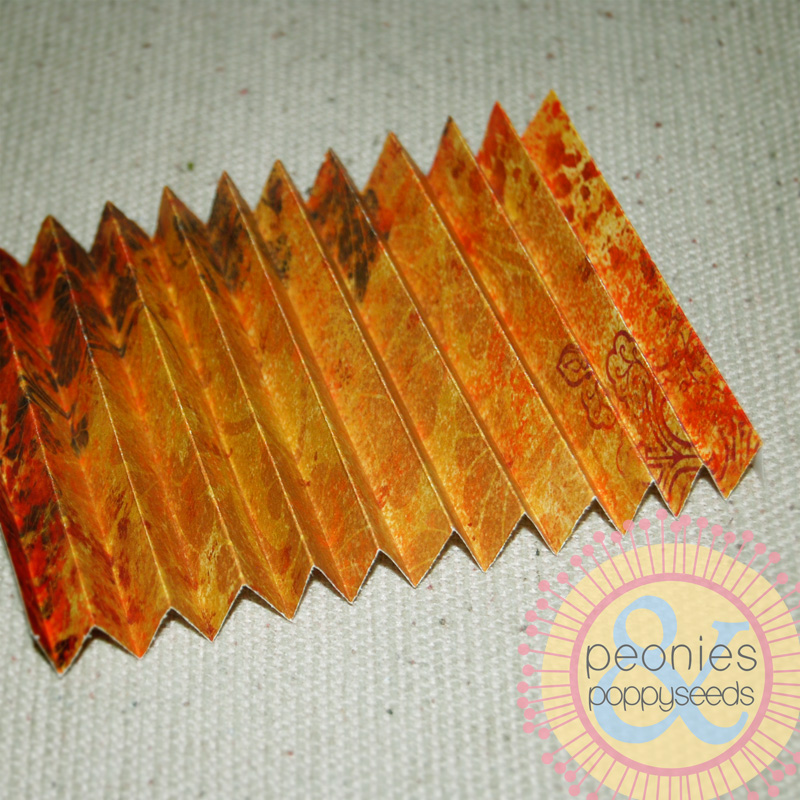
Step 4: Accordion fold your strips at half inch intervals.


Step 5: Fold your folded strip in half going one way, and then fold it again it in half going the other way.  And make sure your folds are in the middle.


Step 6: Tape the sides of the accordion together on one side, then tape the other sides, so that it makes a nice accordion circle.


Step 7:  Hot Glue the letters to the front of the nice accordion circles.


Step 8: Hot Glue some ribbon, string, lace, or whatever to the back of the accordion.  (Make sure you glue these so that the letters will hang in the right direction.)


Step 9:  Tie the ribbon (or whatever it is that you used) to a long piece of something else.  I used lace.  But I almost used string.  But then I decided on lace.

Step 10:  Hang your banner on the wall.  I had to hang my banner with packing tape, because my walls are plaster, covered in wall paper, slathered with paint; so nails, push pins, regular hanging devices = not an option.


THE END.

______________________________________________
Want to know when we post new printables?
Get Peonies and Poppyseeds newest posts by email or in your blog reader.
Follow us on: Twitter, Become a Facebook Fan and keep-up via Networked Blogs!
______________________________________________
Did you use our printables and love them? Send us your photos and we’ll showcase your event! contact us at caroline@peoniesandpoppyseeds.com